

Salesforce
We make it easy for your team to send feedback from your favorite CRM.
Table of content:
Overview
By integrating Salesforce with your Cycle workspace your team will be able to:
Send feedback from Salesforce to Cycle
See the related doc statuses directly from a Salesforce Account/Lead/Contact
Get notified whenever related doc statuses update inside the concerned Chatter tab Account/Lead/Contact
Installation
Installing the Cycle integration requires 4 distinct steps. Salesforce is a highly customisable tool making the installation process a bit less seamless than for other product.
1. OAuth flow installation
From your Cycle integration settings, select the Salesforce integration and authorise Cycle to access your workspace.
Once installed go back to your Salesforce instance, under your Setup, search for App Manager. You should see Cycle in the list. Click on the arrow on the right and select "Manage"

Once the app has loaded (it can take a really long time sometimes), click on Edit policies, modify the dropdown Permitted users and select Admin approved users are pre-authorized. A popup will show, confirm by clicking on the Ok button. Click on Save. You should be redirected on the App setup, wait a bit for the page to load.

From the App setup, click on Manage profiles.

Select the Standard User and System Administrator and any other appropriate profiles then Save.

2. Package installation
Download the canvas app from this link and select Install for All Users.

You need to tick the box "I acknowledge that I’m installing a Non-Salesforce Application that is not authorized for distribution as part of Salesforce’s AppExchange Partner Program."
You will then get notified in Salesforce and by email once the package is installed.
3. Visualforce page creation
In your Salesforce Setup, search for "Visualforce page". Once there, create a new View. You can name it "Cycle". Make it visible to all users then save your view.

From there, click on "New" to create a new Visualforce page. Once in the edit mode, name your page Cycle, and make it available for Lightning Experience.

Paste the following code in the Visualforce Markup console and save your Page. It is now ready to be used on your Salesforce Pages! 🔥
4. Contact/Lead/Account page configuration
In Salesforce go back to your Sales App from App launcher. Navigate to your Contact tab and select one of your contact. From the Contact page, use the setting to Edit the page.

Once in the Edit mode, select a place to add the Cycle widget then search for the Cycle Visualforce component. Clicking on it should add the canvas on the place you previously selected.

You should now see the Cycle Canvas! You're ready to go 🎉

How it works
There are two ways to use this integration.
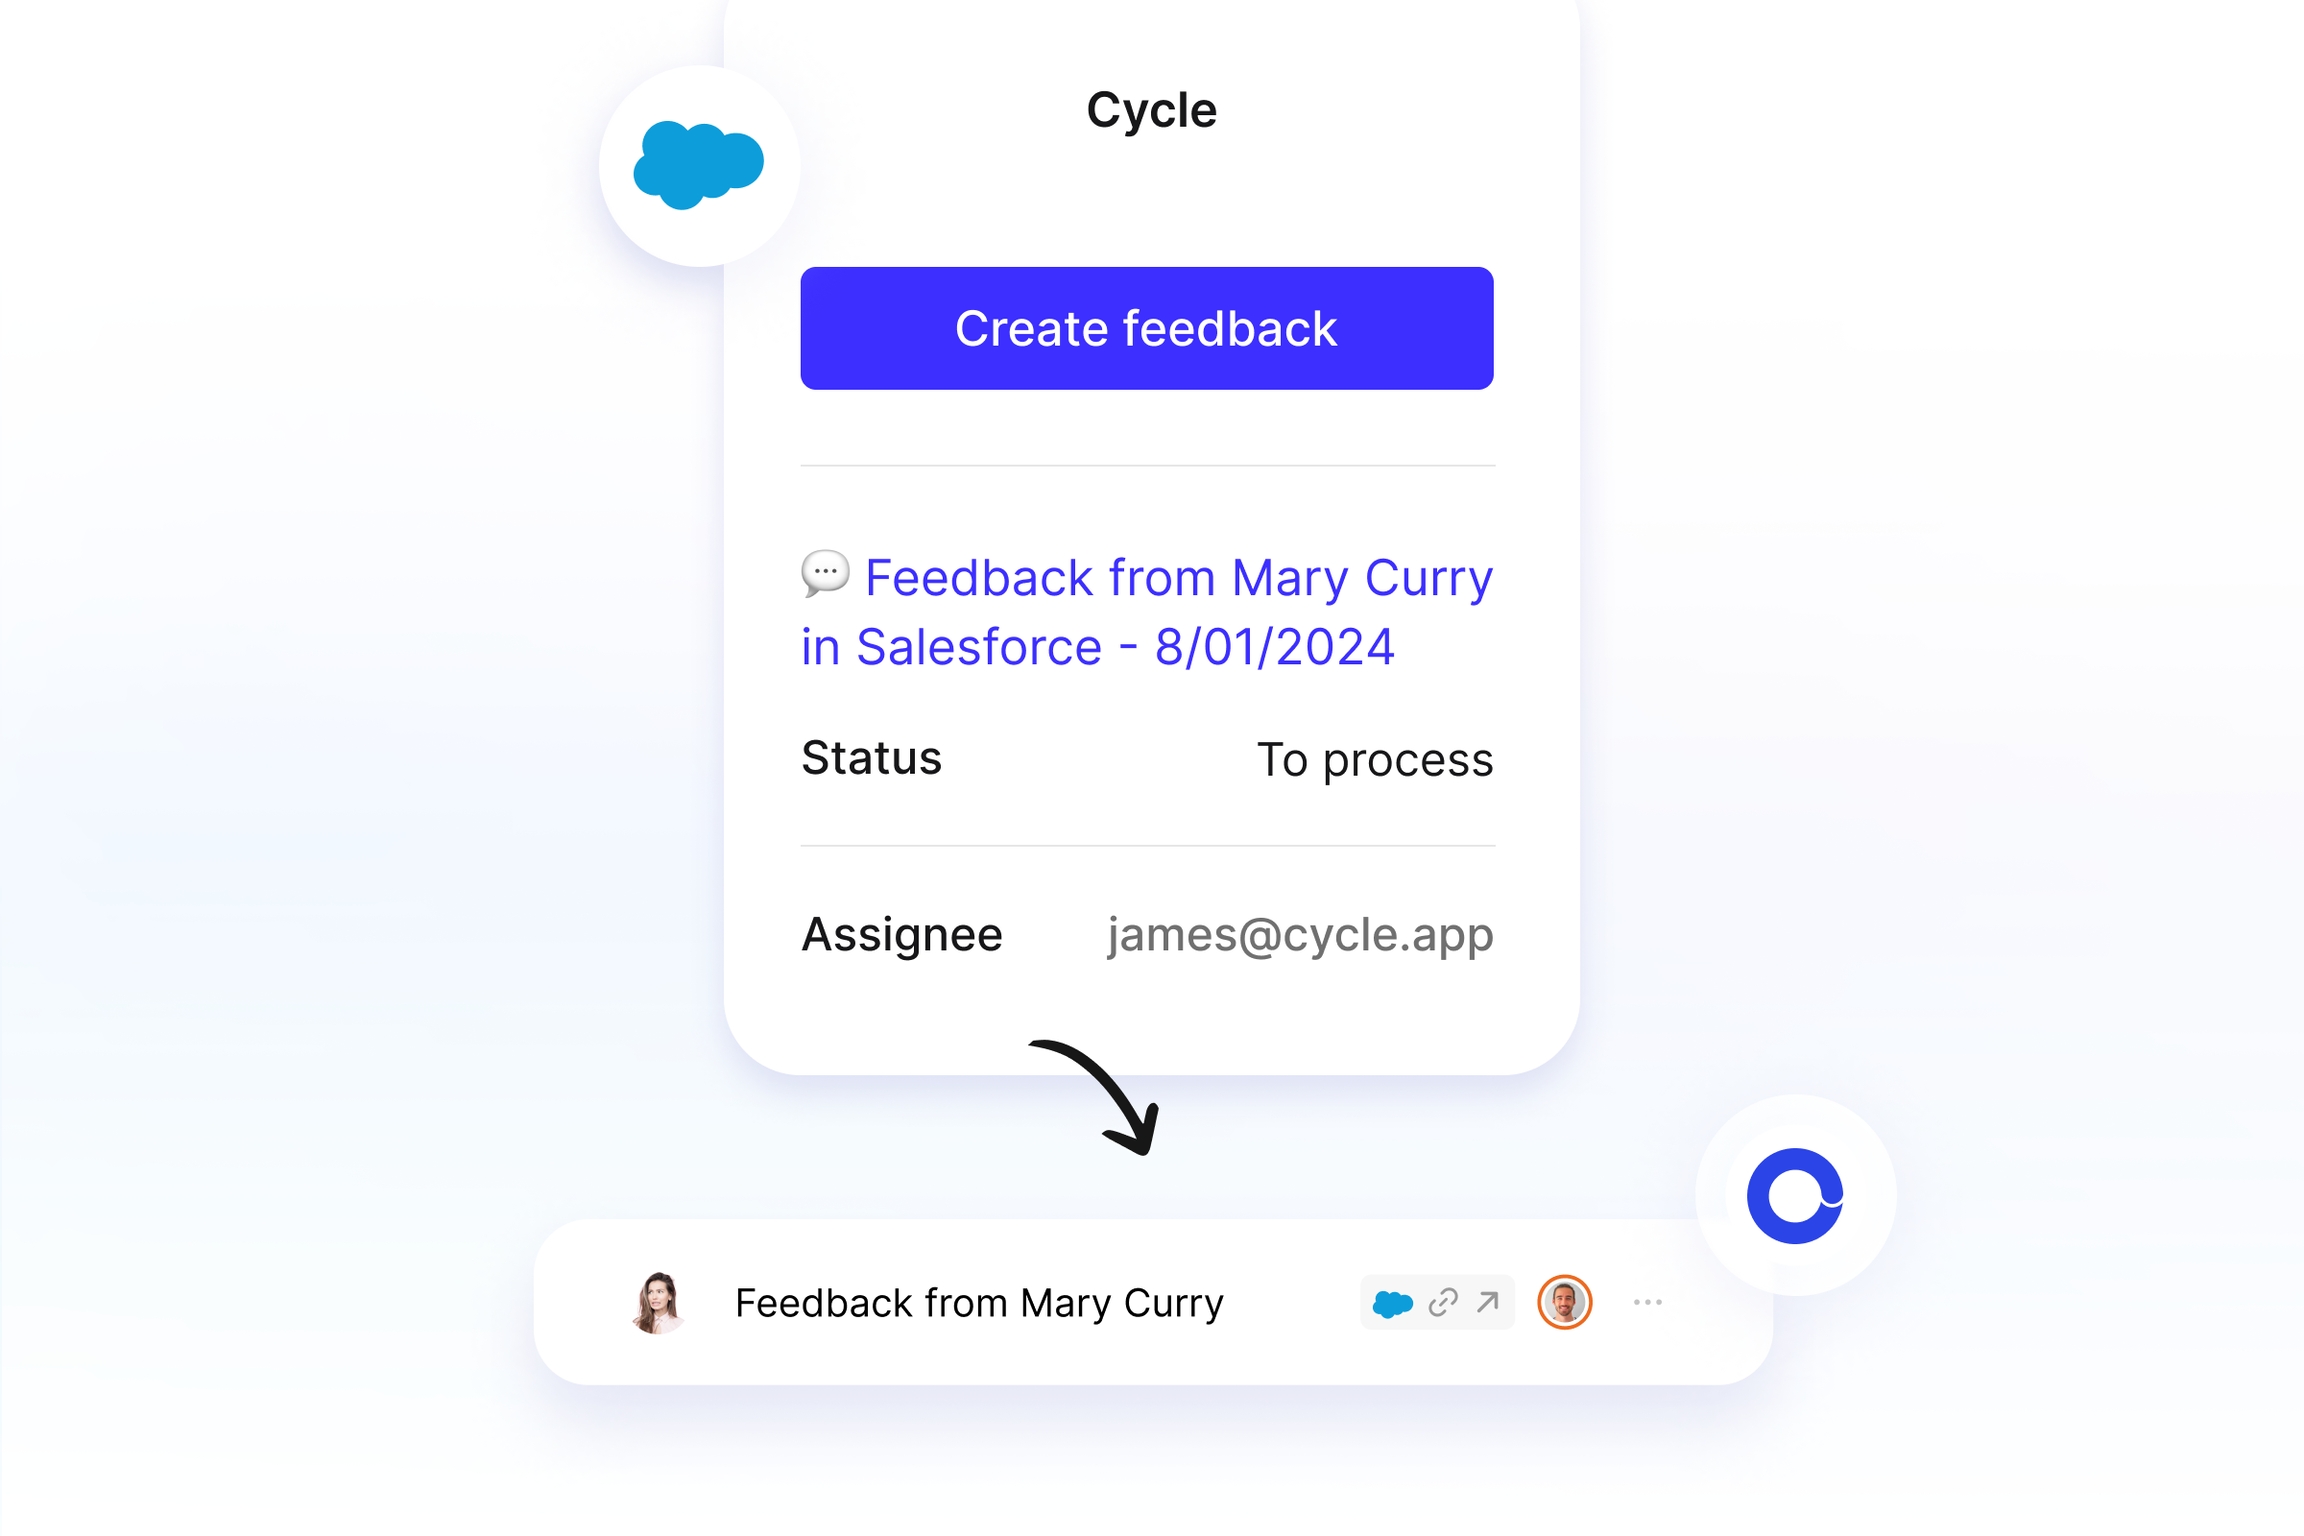
First, customer-facing teams can send feedback straight from Salesforce to the product team. You can do so from any Lead, Contact, or Account page.
Second, you can set up an automation to automatically send all messages that match specific criteria using Cycle’s API.
In both cases, you'll receive updates on Salesforce as soon as the customer requests status changes in Cycle, helping you close the feedback loop every time you ship something.
Last updated
Was this helpful?